Napalm Death
4/10/2025 - The Belasco Theater - Los Angeles, California.
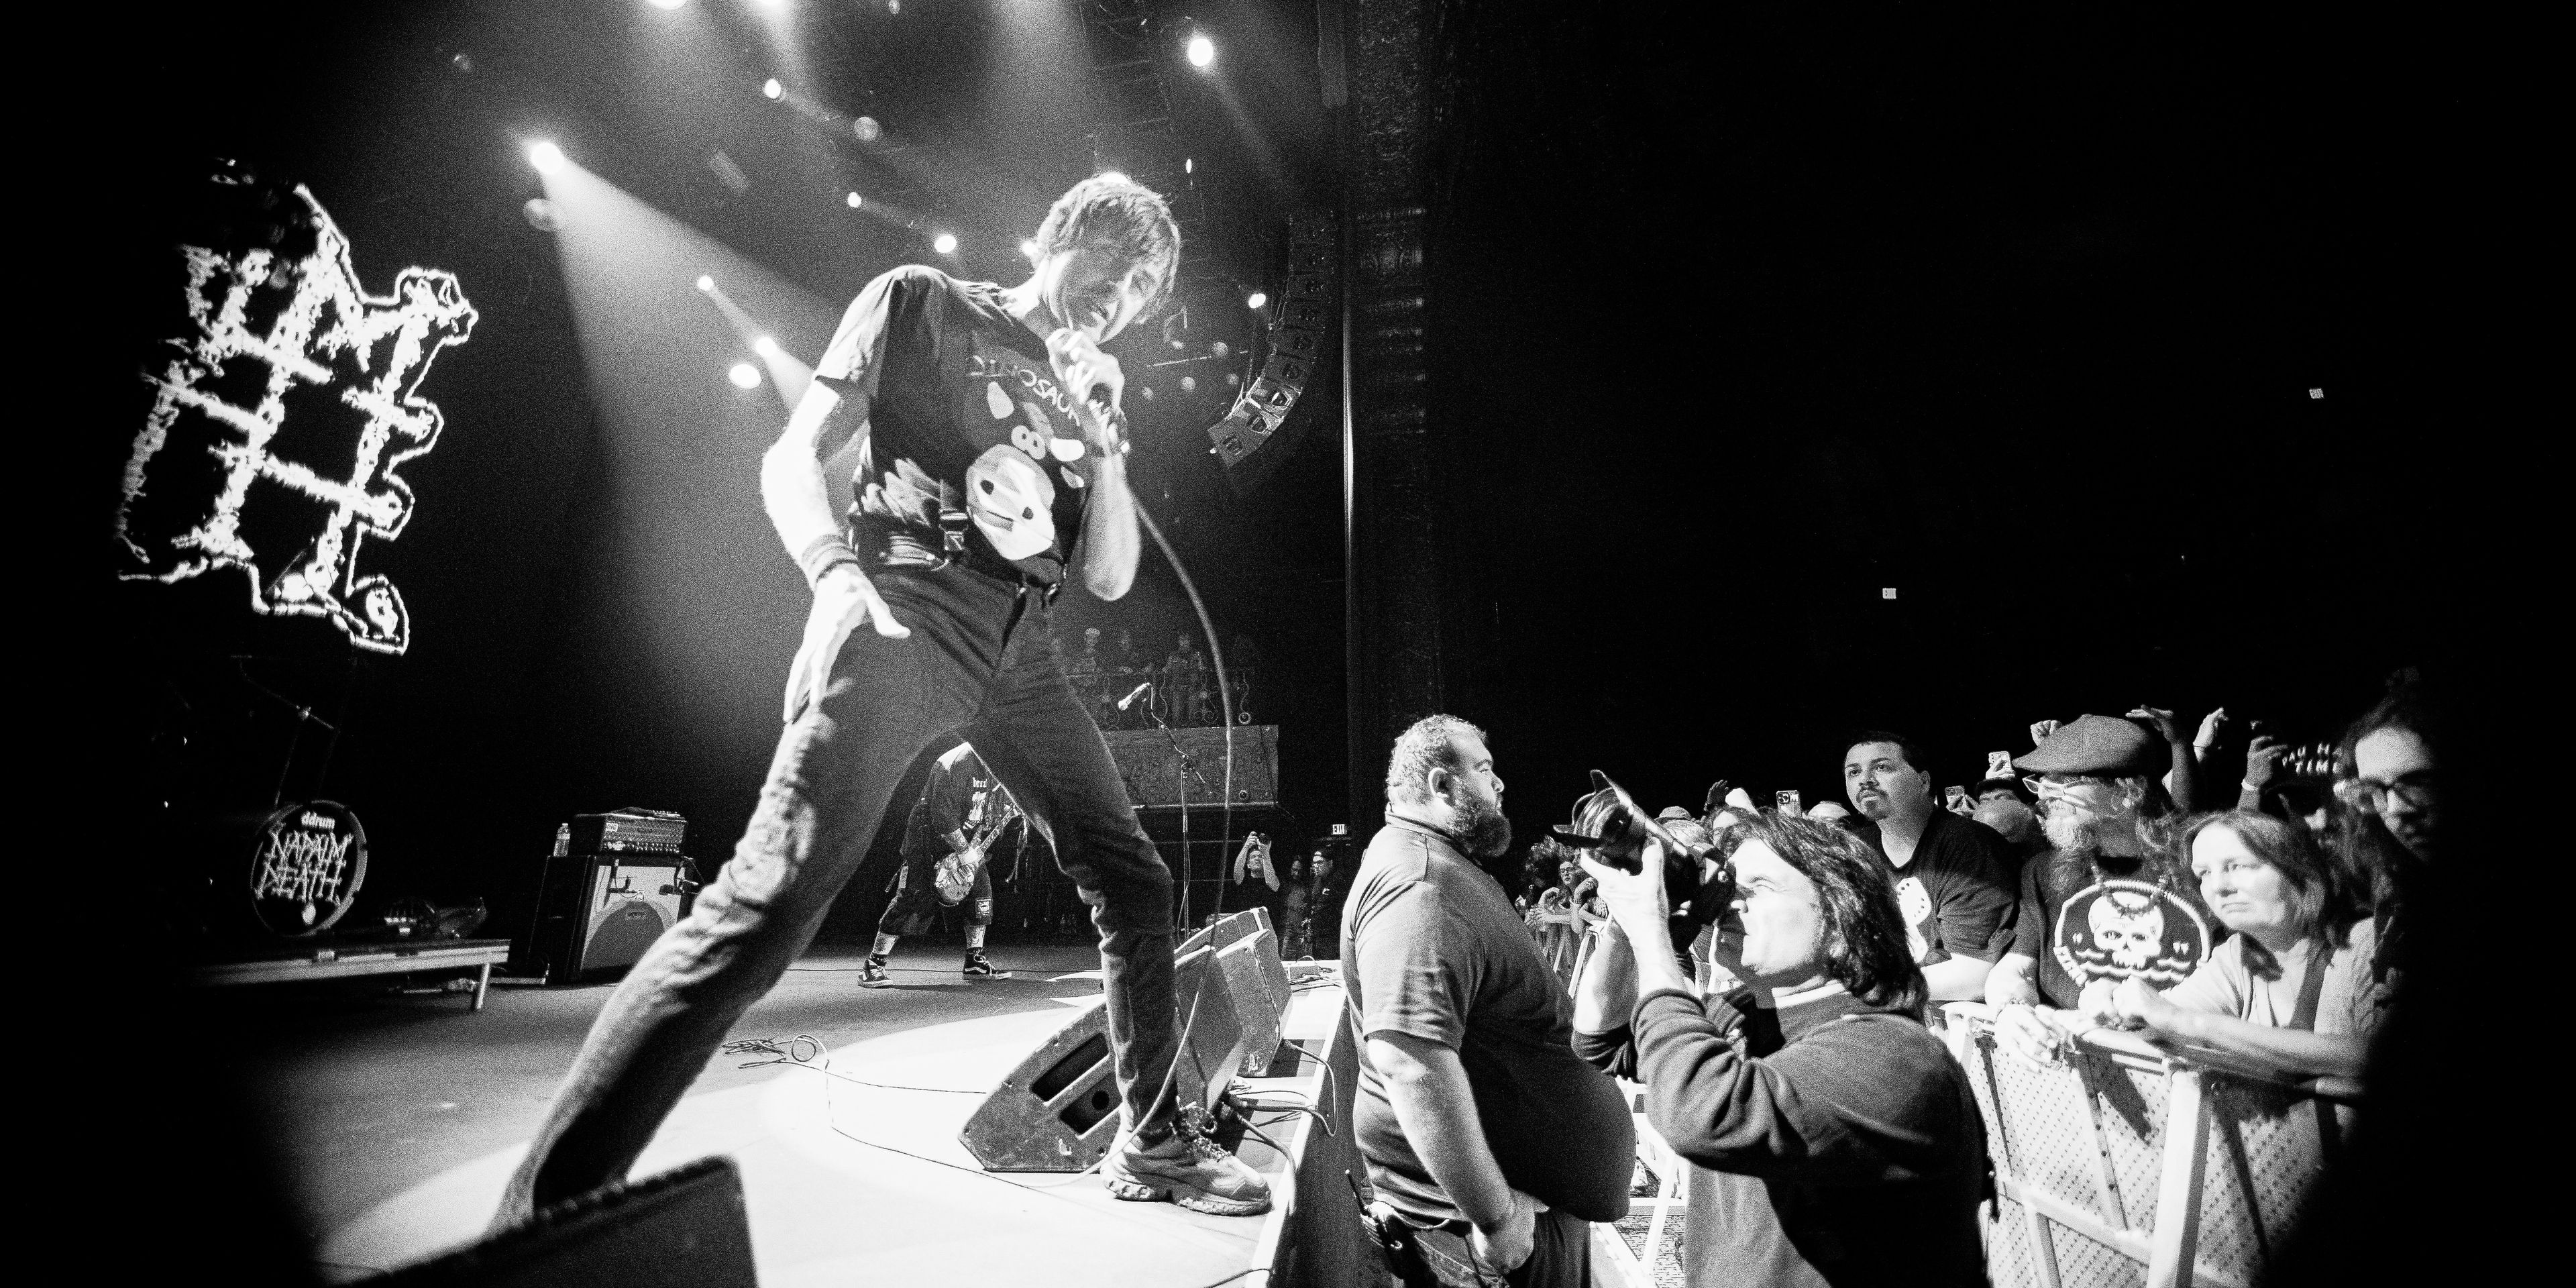
📸 by @nucorejess
Savage Imperial Death March Tour Part 2 Brings Relentless Fury to LA
Last month, the savage synergy of Napalm Death and The Melvins returned to Los Angeles for Savage Imperial Death March Tour: Part 2. Picking up the carnage where they left off in 2016, the seven-week reunion was a glorious trip into grindcore fury and sludgy chaos. Evvntly caught the tour as it tore through the Belasco in downtown LA—and I’m still headbanging at the memory.
Opening the night was Dark Sky Burial, the eerie solo project from Shane Embury—legendary bassist of Napalm Death, Brujeria, and Lock Up. His ambient set led the audience through a shadowy soundscape of instrumental doom, equal parts meditative and menacing. Dim lights and droning textures set the stage for what was to come.

The energy escalated with doom titans Weedeater (gallery), who wasted no time obliterating eardrums with sludge-soaked riffs and aggression.

Tracks like “God Luck and Good Speed,” “Hammerhandle,” and “Weed Monkey” ignited perfectly swirling pits of chaos.

Next up were The Melvins (gallery), living legends who’ve long held the torch as pioneers of both grunge and sludge metal.

They sludged like only they can—thick, raw, and punishing. The bass and guitar tones reverberated through my chest even on the walk to the parking lot.

Closing the night—and blowing the roof off—was Napalm Death. The grindcore veterans came out swinging, with frontman Barney Greenway hurling himself into the crowd between blast-beat barrages. The setlist ripped through fan-favorites like “Contagion,” “Narcoleptic,” and “Pride Assassin,” delivering sonic violence with surgical precision.

As the final note faded and the room roared in approval, one thing was clear: the Savage Imperial Death March has unfinished business. Part 3, anyone?


